Table of Contents
- How to Film Your Exercise Form for Feedback
- Why Filming Your Exercise Form Changes Everything
- The Feedback Loop: See, Adjust, Repeat
- What Good Form Feedback Actually Looks Like
- Before You Hit Record: Set Up for Success
- Choose the Right Angle for the Exercise
- Front View: Great for Symmetry and Knee Tracking
- Side View: Best for Spine, Hip, and Bar Path
- Rear View: Useful for Shoulder and Hip Alignment
- Lighting, Space, and Clothing Matter More Than You Think
- The Gear You Need (And What You Can Skip)
- Smartphone Setup Basics
- Tripods, Props, and Budget Hacks
- How to Film Specific Exercises Without Guessing
- Filming Squats and Deadlifts
- Filming Push-Ups, Pull-Ups, and Overhead Press
- Filming Running and Jumping Drills
- Recording Techniques That Make Feedback Easier
- Frame Rate, Resolution, and Slow Motion
- Audio Cues and Verbal Notes
- How to Review Your Own Form Like a Coach
- Break the Movement Into Phases
- Spot Red Flags, Not Perfection
- Sending Your Video for Feedback the Right Way
- What to Write in Your Message
- Privacy, Platforms, and File Size
- Common Mistakes When Filming Exercise Form
- Filming From Too Far Away or Too Close
- Recording Only One Rep or One Angle
- Turning Feedback Into Real Progress
- Practice Cues With Tempo and Mirrors
- Retest Every Few Weeks
- Conclusion
- FAQs
- How long should my form video be?
- Do I need a tripod to film my workouts?
- Can I film my exercise form with a laptop webcam?
- How do I film alone without a remote?
- Is it okay to send form videos to strangers online?
How to Film Your Exercise Form for Feedback
You know that feeling when a lift feels strong, clean, and almost poetic? Then you watch a video and realize your knees are doing a tiny dance, your back rounded like a question mark, and your left side showed up to a party your right side skipped. Yeah, that is why filming your exercise form for feedback works. It turns guesswork into information.
But here is the catch: a bad video gives bad feedback. If the angle is wrong, the lighting hides your hips, or the camera is so far away you look like a speck, even a great coach cannot help much. The goal is not to create a cinematic masterpiece. The goal is to capture clear, honest movement so you or someone else can spot what needs fixing.
Let us walk through the whole process. You will learn how to set up your phone, choose angles, film specific lifts, review your own form, and send clips that actually get useful feedback. No fluff. No confusing jargon. Just practical steps you can use on your next workout.
Why Filming Your Exercise Form Changes Everything
Your body lies to you. Not on purpose, of course. But when you are under a heavy barbell or pushing through a tough set, your brain is busy keeping you alive. It does not always notice that your right heel lifted, your elbow flared early, or your chin jutted forward. A mirror helps a little, but it flips your movement and forces you to turn your head, which changes your posture.
Video is different. It freezes time. You can rewind, pause, slow down, and compare reps. You can see whether your hips shift to one side before you press, or whether your knees cave as you stand up. That level of detail is almost impossible to catch in real time.
The Feedback Loop: See, Adjust, Repeat
Think of filming your form like editing a movie. You shoot the raw footage, watch the scene, and decide what needs a reshoot. The same loop applies to training. You record a set, review the movement, pick one cue to change, then record again. Over weeks, that loop builds better movement patterns.
The key is to keep the loop tight. Do not film 20 sets and then analyze them three days later. Film one or two working sets, review them while the feeling is still fresh, and make a small adjustment. That is how feedback sticks.
What Good Form Feedback Actually Looks Like
Good feedback is not “your form is bad.” That is useless. Good feedback sounds like, “Your left knee tracks inward as you start the ascent, and your right heel lifts at the bottom.” Now you know what to fix and when it happens. Vague advice creates confusion. Specific advice creates action.
When you film for feedback, ask for details. Ask about a specific phase of the lift. Ask what you should feel. Ask what drill or cue might help. The more precise your question, the more precise the answer.
Before You Hit Record: Set Up for Success
Most bad form videos fail before the first rep. The camera is propped on a water bottle at a weird angle, the gym lights are behind you, and your baggy hoodie hides every joint. You do not need a professional studio, but you do need a few basics.
Choose the Right Angle for the Exercise
Different exercises reveal different problems from different views. There is no single perfect angle for everything. The best approach is to match the camera position to the question you are asking.
Front View: Great for Symmetry and Knee Tracking
A front view shows whether your body is shifting side to side. It is excellent for squats, overhead presses, pull-ups, and push-ups. You can see knee valgus, hip shift, uneven shoulders, and elbow flare. Place the camera at roughly chest height and far enough back to capture your full body from head to feet.
Side View: Best for Spine, Hip, and Bar Path
The side view is the classic form-check angle. It reveals spinal position, hip hinge, bar path, and depth. For deadlifts, squats, and overhead presses, a side view is often the most useful. Put the camera at hip height so you can see the bar, your back, and your knees without distortion.
Rear View: Useful for Shoulder and Hip Alignment
A rear view can show shoulder blade movement, hip rotation, and foot pressure. It is handy for pull-ups, rows, and squat symmetry. Just make sure the camera is not directly behind a busy walkway where people will block the shot.
Lighting, Space, and Clothing Matter More Than You Think
Lighting is not about looking good. It is about seeing contrast. If the light source is behind you, your body becomes a silhouette. Put the light in front of you or to the side. In a gym, face the windows or use overhead lights. At home, turn on lamps and open curtains.
Wear fitted clothing. A loose shirt can hide a rounded back, and baggy pants can hide knee position. You do not need to wear a competition singlet, but form-fitting activewear helps. Also, clear enough space around you. The camera should see your full body plus a few feet of buffer.
The Gear You Need (And What You Can Skip)
You probably already own the best form-check tool: your phone. You do not need a DSLR, a gimbal, or a lighting crew. A smartphone from the last several years can shoot excellent video for feedback.
Smartphone Setup Basics
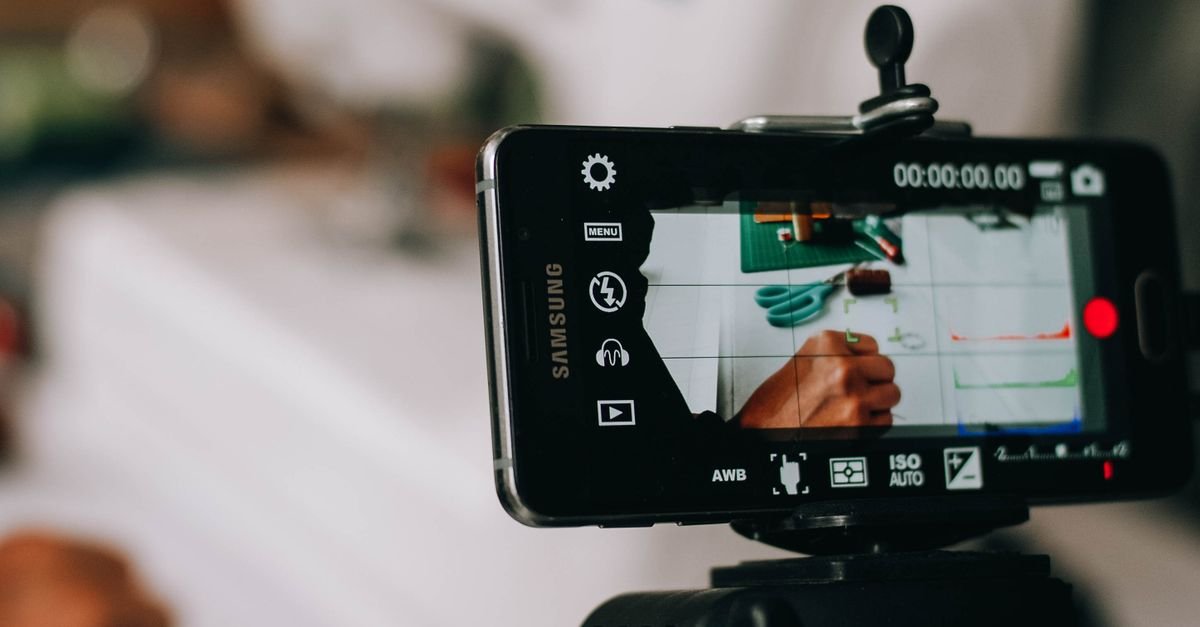
Set your phone to 1080p at 60 frames per second. That gives you smooth motion and enough detail for slow motion. If your phone supports 120 or 240 fps, use it for short clips, but keep in mind those files are larger. Lock the exposure and focus on your body before you start. This prevents the camera from brightening and darkening as you move.
Use the grid feature to keep the camera level. A tilted horizon makes it harder to judge whether your hips are level. If you are filming alone, a Bluetooth remote or a smartwatch camera app is a game changer. You can start and stop without walking back and forth.
Tripods, Props, and Budget Hacks
A cheap phone tripod costs less than a tub of protein powder and makes a huge difference. If you do not have one, stack books, use a squat rack, or balance your phone on a water bottle. Just make sure it is stable. A shaky video is harder to analyze and might end with your phone on the floor.
You can also ask a training partner to film. Handheld video can work if the person keeps the camera steady and follows your body. But for most feedback, a stationary camera is better because it shows the same frame from rep to rep.
How to Film Specific Exercises Without Guessing
Now let us get practical. The general rules apply to everything, but some exercises need special attention. Here is how to film the big movements without wasting time.
Filming Squats and Deadlifts
For squats, the side view is your best friend. Place the camera at hip height, far enough away to see your feet, knees, hips, and the barbell. Start recording before you unrack the weight, and keep recording until you rack it. That shows your setup, walkout, descent, bottom, ascent, and lockout. If you want to check knee tracking, add a front view from a 45-degree angle.
For deadlifts, use a side view to check bar path, back position, and hip hinge. A front view can show whether the bar drifts left or right. Film from the floor up. Do not cut off your feet or the plates. The first inch of the pull often reveals the biggest issues.
Filming Push-Ups, Pull-Ups, and Overhead Press
Push-ups need a side view to check elbow angle, hip position, and head alignment. A front view can show shoulder symmetry. For pull-ups, film from the front to see scapular movement and from the side to see whether you are swinging or using momentum. For overhead press, a side view shows rib flare and bar path, while a front view shows uneven lockout.
In every case, record full reps. A single rep at a weird angle tells a small story. Three to five reps tell the whole plot.
Filming Running and Jumping Drills
Running form is tough to capture because you move through space. A treadmill makes it easier. Put the camera to the side at hip height, and record 20 to 30 seconds. You can also film outdoors from a side angle or from behind. For jumps, use a side view to see knee and hip angles, and a front view to check landing symmetry. Slow motion is especially helpful here.
Recording Techniques That Make Feedback Easier
You do not need to be a videographer, but a few technical choices can make your form video much more useful.
Frame Rate, Resolution, and Slow Motion
Shoot at 1080p and 60 fps for most lifts. This gives a good balance of clarity and file size. If you want to analyze a fast movement like a clean, snatch, or box jump, use 120 fps or 240 fps. Slow motion reveals positions that happen in a blink. Just do not slow down every video. Sometimes real-time speed shows rhythm and momentum better.
Audio Cues and Verbal Notes
Before you start, say the exercise, the weight, and what you are working on. For example, “Back squat, 185 pounds, checking knee cave.” This helps whoever reviews the video, including future you. If you are in a noisy gym, mouth the words or add a text overlay later. A little context goes a long way.
How to Review Your Own Form Like a Coach
You do not always need someone else to give feedback. You can learn to watch your own video with a coach’s eye. The trick is to stop looking at everything at once. Focus on one thing per viewing.
Break the Movement Into Phases
Every lift has phases. For a squat, think setup, descent, bottom, ascent, and lockout. For a deadlift, think setup, break from floor, knee pass, lockout, and return. Watch each phase separately. Ask simple questions. Is my spine neutral here? Are my knees tracking over my toes? Is the bar path vertical? When you break the movement down, problems become obvious.
Spot Red Flags, Not Perfection
No one has perfect form all the time. Do not chase a flawless video. Look for red flags: pain, loss of balance, rounding under load, shifting to one side, or collapsing joints. If you see something that hurts, stop and get professional help. If you see a small inefficiency, pick one cue and work on it.
Sending Your Video for Feedback the Right Way
You have the footage. Now you need to send it to a coach, a training partner, or an online community. A vague message with a 4-minute video will not get the best response. Make it easy for the reviewer to help you.
What to Write in Your Message
Include the exercise, the weight, your experience level, and any injuries or limitations. Then ask a specific question. For example: “This is a 225-pound deadlift. My lower back feels tight after sets. Can you check my setup and first pull?” That tells the reviewer exactly where to look. If you want feedback on multiple things, send separate videos or list them clearly.
Privacy, Platforms, and File Size
Trim the video before sending. Nobody needs to watch you adjust your headphones for 30 seconds. Compress large files or upload them to a private link. Be careful about posting form videos publicly. Once it is online, you lose control of it. If you are underage, ask a parent or guardian before sharing. For coaching, use a private messaging app, email, or a secure coaching platform.
Common Mistakes When Filming Exercise Form
Even with good intentions, people make the same filming mistakes over and over. Here are the big ones to avoid.
Filming From Too Far Away or Too Close
If the camera is too far away, your joints become tiny dots. If it is too close, your feet or the barbell get cut off. Aim for a frame that includes your whole body plus a little space above your head and below your feet. For barbell lifts, make sure the plates are visible.
Recording Only One Rep or One Angle
One rep might be your best rep or your worst rep. It is not enough. Record three to five reps at a steady weight. If possible, get two angles: a side view and a front or 45-degree view. That gives the reviewer enough information to see patterns instead of accidents.
Turning Feedback Into Real Progress
Getting feedback is only half the battle. The real magic happens when you use it. Do not try to fix ten things at once. Pick the most important issue, practice it with lighter weight, and then film again.
Practice Cues With Tempo and Mirrors
Tempo work is a powerful tool. Slow down the descent or pause at the bottom. This gives your brain time to feel the correct position. Mirrors can help for simple movements, but remember they flip your image. Use them for awareness, not as your only feedback source. A camera still gives you the most honest view.
Retest Every Few Weeks
Do not film every single workout. That can turn into obsessive checking. Instead, film a form check every two to four weeks, or when you change weights, tempo, or technique. Compare the new video to the old one. Are your knees more stable? Is your back flatter? Is your bar path straighter? Progress is often subtle, and video helps you see it.
Conclusion
Filming your exercise form for feedback is one of the simplest ways to improve your training. You do not need fancy equipment. You need a phone, a stable surface, decent lighting, and a clear question. Choose the right angle, capture full reps, and review the video with curiosity instead of criticism.
Remember, the goal is not to create perfect footage. The goal is to learn how your body actually moves under load. Once you see it, you can fix it. Once you fix it, you can get stronger, safer, and more confident. So prop up your phone, hit record, and let the camera tell you the truth. Your future self will thank you.
FAQs
How long should my form video be?
Aim for 15 to 45 seconds. That is usually enough for three to five reps. Longer videos are fine if you are doing a complex movement or multiple sets, but trim the dead space. Reviewers appreciate short, focused clips.
Do I need a tripod to film my workouts?
No, but it helps. A tripod keeps the camera steady and lets you film alone without asking for help. If you do not have one, use a stable bench, stacked books, or a squat rack. Just make sure your phone will not fall during the set.
Can I film my exercise form with a laptop webcam?
You can, but it is not ideal. Laptop webcams often have lower resolution and poor low-light performance. They also force you to position the laptop at an awkward height. A smartphone camera will almost always give you clearer, more useful footage.
How do I film alone without a remote?
Use your phone’s timer mode or a smartwatch camera app. You can also start recording before you get into position and stop after you finish. If you have a voice assistant, you might be able to start and stop recording with a voice command. Just test it before your working set.
Is it okay to send form videos to strangers online?
Be careful. Only share with trusted coaches or reputable communities. Avoid sending videos to random accounts, and never include personal information in the clip. If you are a minor, get permission from a parent or guardian first. Your privacy matters more than a quick form check.



