Table of Contents
- How High Should a Step Be for Step-Up Exercises?
- Quick Answer: The Sweet Spot for Step Height
- Why Step Height Matters More Than You Think
- The Golden Rule: Knee Angle, Not Numbers Alone
- Standard Step Heights by Fitness Level
- How Your Body Proportions Change the Ideal Height
- Step Height by Goal
- Signs Your Step Is Too High
- Signs Your Step Is Too Low
- How to Progress Step Height Safely
- Step-Up Variations and Their Height Rules
- The Best Surfaces and Equipment for Step-Ups
- Common Mistakes to Avoid With Step Height
- Sample Step-Up Workouts by Height
- Frequently Asked Questions
- Conclusion
How High Should a Step Be for Step-Up Exercises?
Step-ups look simple, right? You find a box, a bench, or a sturdy platform, put one foot on top, and stand up. But the moment you change the height, the exercise changes. A low step feels like cardio. A moderate step hits your glutes and quads. A high step can either build serious strength or wreck your knees, depending on how you use it.
So how high should a step be for step-up exercises? The short answer is not one magic number. Your height, hip mobility, knee health, training goal, and experience all matter. Still, you can use some clear rules to find your personal sweet spot. Let’s break it down step by step.
Quick Answer: The Sweet Spot for Step Height
For most people, a step height between 6 and 12 inches works well for general step-up training. Beginners often do best with 6 to 8 inches. Intermediate lifters can handle 10 to 12 inches. Advanced trainees and athletes may use 14 to 18 inches or more, but only with solid control and a clear reason.
The real test is not the tape measure. It is your body. When your foot is on the step, your front knee should bend to about 90 degrees. Your torso should stay tall. Your heel should stay planted. Your knee should track over your toes, not cave inward. If you have to tiptoe, lean way forward, or push hard off your back foot, the step is too high.
Think of step height like shoe size. A size 10 might fit one person perfectly and slide around on another. The number matters less than the fit.
Why Step Height Matters More Than You Think
Step height changes the angle of your hip and knee joints. That changes which muscles do the work. A lower step keeps your knee angle more open. Your quads and calves may feel it more, and your heart rate climbs quickly because you can move fast. A higher step closes your knee angle and demands more from your glutes, hamstrings, and hip stabilizers. But it also increases the load on your kneecap and lower back.
Here is the tricky part: higher is not automatically harder in a good way. It can just be harder on your joints. If your hip mobility is limited, a high step forces your pelvis to tuck under or your spine to round. That is not strength training. That is a compensation. And compensation, repeated over time, often turns into nagging pain.
On the flip side, a step that is too low can turn step-ups into a fancy shuffle. You barely bend your knee, your back leg does half the work, and your glutes never get the message. You finish 20 reps and wonder why you feel nothing. The step was so low it became a warm-up, not a workout.
The Golden Rule: Knee Angle, Not Numbers Alone
Instead of obsessing over inches, focus on joint angles. Your body does not know what a 12-inch box is. It knows how bent your knee is, how much your hip is flexed, and whether your foot is stable. Use these three quick tests to find your ideal height.
The 90-Degree Test
Stand in front of your step. Place one foot flat on top. Shift your weight forward slightly. Look at your front knee. It should be bent to roughly 90 degrees, like the corner of a square. If your knee is much higher than your hip, the step is probably too high. If your leg is almost straight, the step is too low.
The Hip Crease Test
Stand beside the step. The top of the step should land somewhere between mid-shin and knee height for most general training. If it hits above your kneecap, you are entering advanced territory. That can be fine for some athletes, but it is not the default. Your hip crease should not fold into a deep tuck just to get your foot on the surface.
The No-Collapse Check
Do one slow step-up. Watch your standing leg. Does your knee collapse inward? Does your heel lift off the step? Does your torso dive forward like you are bowing? Does your back foot push you up? If you answer yes to any of these, lower the step. A good step-up should feel controlled, not survival-based.
Standard Step Heights by Fitness Level
You still need a starting point. These ranges work for most healthy adults who want stronger legs, better balance, and a solid cardio hit.
Beginners: 6 to 8 Inches
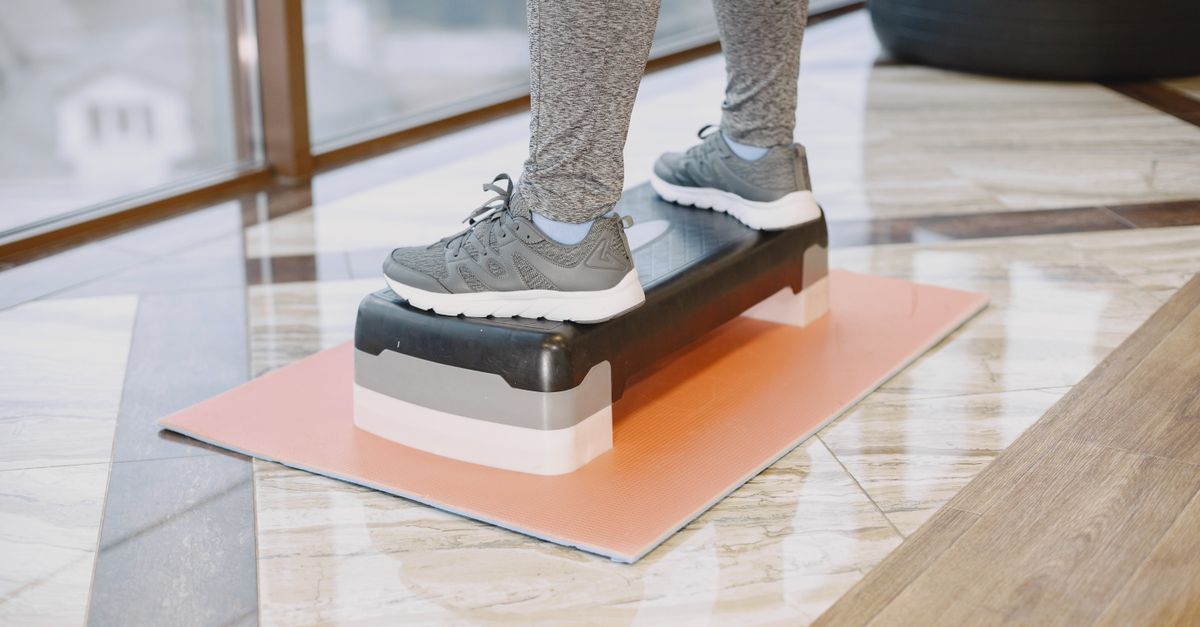
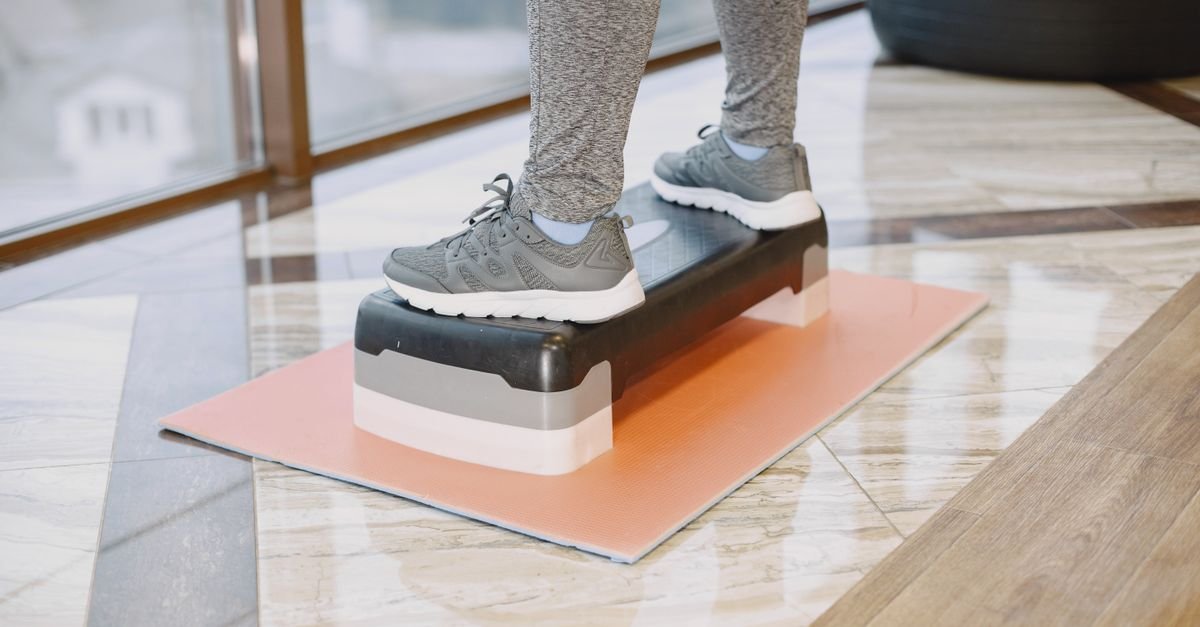
Start low. A 6-inch step is about the height of a standard aerobic step platform. An 8-inch step is a small plyo box or a sturdy low bench. At this height, you can learn the pattern without fighting your balance. You can keep your heel down, your knee tracking forward, and your torso upright. Once you can do 3 sets of 10 controlled reps per leg without holding a rail, you are ready to go a little higher.
Intermediate: 10 to 12 Inches
This is the sweet spot for many people. A 10- to 12-inch step gives you a real glute and quad challenge without forcing ugly compensations. You can add dumbbells here. You can slow down the lowering phase. You can pause at the top. This height is also great for building knee strength because your knee travels through a useful range without being jammed into your chest.
Advanced: 14 to 18 Inches or More
Advanced trainees can go higher, but the rules get stricter. At 14 to 18 inches, your hip flexors need room. Your ankle needs to bend. Your core needs to brace. If you are training for a specific sport or event, a higher step can build serious hip and glute power. But if you are just chasing a bigger box, you are probably missing the point. Load and control beat height almost every time.
Athletes and Power Training: When Higher Is Better
Athletes sometimes use high step-ups for sprinting, jumping, and change-of-direction power. A 16- to 20-inch box may show up in programs for basketball, football, or track. But those athletes usually have years of training, excellent mobility, and a coach watching their form. For everyone else, a moderate step with added weight or a slower tempo is often the smarter move.
How Your Body Proportions Change the Ideal Height
Two people can both be 5 feet 10 inches tall and still need different step heights. Why? Limb lengths. Your femur, tibia, torso, and ankle mobility all change how you fold into a step-up.
Short Femurs vs. Long Tibias
If you have long femurs, you may need a lower step to keep your torso upright. Your hip has to travel farther back, and a high step can force your chest down. If you have long tibias, your shin may need more room to angle forward. In that case, a slightly higher step might feel fine, but your ankle mobility becomes the limiting factor.
Ankle Mobility and Hip Flexor Tightness
Can you squat down without your heels lifting? Can you bring your knee forward over your toes? If not, a high step will punish you. Limited ankle mobility forces your heel to pop up. Tight hip flexors pull your pelvis forward. Both make the step-up feel awkward and put extra stress on your knees and lower back. When in doubt, choose the lower step and work on mobility.
Step Height by Goal
Your goal should drive your step height. A step-up for weight loss is not the same as a step-up for glute growth or knee rehab.
For Glutes and Hips
Go moderate to high. A 12- to 18-inch step can increase hip flexion and force your glutes to drive the movement. Focus on pushing through your whole foot, especially the heel. Lean your torso slightly forward at the hips, but keep your spine long. Do not round your back. Pause at the top and squeeze your glute. If you feel your lower back instead of your glute, lower the step or reduce the load.
For Quads and Knee Strength
Use a lower to moderate step, around 8 to 12 inches. Let your knee travel slightly forward over your toes. Keep your torso more upright. This increases the demand on your quads. You can also slow down the lowering phase to make the quads work harder without adding height. If you have knee pain, keep the step low and the reps controlled.
For Cardiovascular Endurance
Keep it low and fast. A 6- to 10-inch step lets you move quickly without tripping. You can alternate legs, add arm drives, or do timed intervals. Think of it like climbing stairs with rhythm. The goal is to keep your heart rate up, not to max out your hip strength. A high step will slow you down and turn a cardio set into a strength set.
For Rehab and Seniors
Start very low, around 4 to 6 inches. Use a rail or wall for balance. Step up with control. Step down slowly. The goal is confidence, stability, and joint-friendly strength. Pain should not be part of the program. If a 6-inch step causes knee pain, go lower or change the exercise. A physical therapist can help you find the right height for your specific issue.
Signs Your Step Is Too High
Your body will tell you if the step is too high. You just have to listen. Watch for these red flags:
- Your heel lifts off the step as you push up.
- Your knee caves inward toward your other leg.
- Your torso folds forward like a closing book.
- You push mostly with your back foot.
- Your lower back arches or rounds.
- You feel a sharp pinch in the front of your knee.
- You need to bounce or use momentum to stand up.
Any one of these signs means you should lower the step. Ego is a terrible coach. A lower step done perfectly beats a high step done poorly every single time.
Signs Your Step Is Too Low
A step can also be too low. If it is, you are not getting the strength or muscle-building benefit you want. Look for these clues:
- Your front knee barely bends.
- Your back leg does most of the work.
- You can easily do 20 or more reps with no challenge.
- You feel nothing in your glutes or quads.
- You finish the set feeling bored, not worked.
If that sounds familiar, add height in small increments. Two inches can make a big difference. You do not need to jump from an 8-inch step to a 16-inch box.
How to Progress Step Height Safely
Progress is not about rushing. It is about earning each new height. Here is a simple order that works for most people:
- Master bodyweight step-ups at your current height. Aim for 3 sets of 8 to 12 controlled reps per leg.
- Add reps before adding height. If you can do 15 clean reps, the step may be getting easy.
- Add load with dumbbells or a backpack. A little weight often teaches better control than a higher box.
- Increase height by 2 inches. Test 5 reps per leg. If your form stays solid, keep it. If not, go back down.
- Do not increase height and load on the same day. Pick one variable.
Think of step height like a ladder. You climb one rung at a time. Skipping rungs is how you fall.
Step-Up Variations and Their Height Rules
Different step-up variations call for different heights. Here is how to adjust.
Lateral Step-Ups
Lateral step-ups work your hips in a side-to-side pattern. Use a lower step, usually 6 to 12 inches. A high step makes it hard to keep your knee aligned and your balance steady. Start low and focus on pushing your hip out as you step.
Weighted Step-Ups
When you add dumbbells, lower the step a bit. Weight increases the demand on your joints and core. A 10- to 12-inch step with 20-pound dumbbells is often harder than an 18-inch step with no weight. Keep the load close to your sides and avoid leaning to one side.
Plyometric Step-Ups
Plyometric step-ups involve a jump or explosive drive. Use a moderate height, usually 12 to 18 inches, and land softly. A step that is too high makes landing dangerous. A step that is too low does not train power well. Start with step-ups, then progress to jump-ups only when your landing mechanics are quiet and controlled.
Reverse Step-Ups
Reverse step-ups start at the top and lower down. They are great for knee-friendly strength. Use a lower step, around 8 to 12 inches. The focus is on slowing the descent. If you drop down, the step is too high or you are rushing.
The Best Surfaces and Equipment for Step-Ups
Your step needs to be stable. A wobbly chair is not a step. A soft couch cushion is not a step. A slick bench is not a step. Look for a plyo box, aerobic step, concrete stair, or heavy wooden platform. The surface should not move when you push off it. If you would not trust it to hold a heavy suitcase, do not trust it with your knees.
Also check the surface you stand on. A slippery floor is a recipe for disaster. Wear shoes with grip, or train barefoot on a non-slip surface if your feet and ankles are strong. Clear the area around you. You need room to step up, step down, and lose your balance without crashing into furniture.
Common Mistakes to Avoid With Step Height
Most step-up problems come down to a few common mistakes. Fix these and your knees, hips, and glutes will thank you.
Mistake #1: Ego Lifting With a Too-High Step
A high step looks impressive on social media. But if your form falls apart, you are not training strength. You are practicing bad movement. Leave your ego at the door. Choose the height that lets you own every inch of the movement.
Mistake #2: Bouncing Off the Back Foot
The back foot should help with balance, not power. If you push off your back toes to stand up, you are turning a single-leg exercise into a weird lunge. Put your weight in the front foot. Drive through the whole foot. Let the back leg hang out like a passenger.
Mistake #3: Letting the Knee Cave In
Your knee should track in line with your second toe. If it collapses inward, your hip stabilizers are losing the battle. Lower the step, slow down, and think about spreading the floor with your foot. A band around your knees can also give feedback.
Mistake #4: Using a Step That Is Too Low and Calling It a Workout
A low step has its place, especially for cardio and beginners. But if you are trying to build strength, a 4-inch step with 30 fast reps is not the same as a 12-inch step with controlled reps. Match the height to your goal.
Sample Step-Up Workouts by Height
Here are three simple workouts to try. Adjust based on your fitness and joint health.
Beginner Workout: 6- to 8-Inch Step
- Bodyweight step-ups: 3 sets of 8 reps per leg
- Rest 60 seconds between sets
- Hold a wall or rail if needed
- Focus on slow down, controlled up
Intermediate Workout: 10- to 12-Inch Step
- Dumbbell step-ups: 3 sets of 10 reps per leg
- Use light to moderate dumbbells
- Pause 1 second at the top
- Rest 75 seconds between sets
Advanced Workout: 14- to 18-Inch Step
- Heavy step-ups: 4 sets of 6 reps per leg
- Use a challenging but controlled weight
- Lower for 3 seconds
- Rest 90 seconds between sets
Do these once or twice a week. Give your legs time to recover. If your knees feel beat up, reduce the height or the load.
Frequently Asked Questions
Is a higher step always better?
No. A higher step increases hip and knee flexion, but it also increases joint stress and the chance of compensation. A moderate step with added weight or a slower tempo often builds more usable strength than a high step with sloppy form. Choose the height you can control.
Can I use a chair for step-ups?
You can, but only if the chair is stable, heavy, and non-slip. Most dining chairs are not designed for repeated step-ups. They can slide, tip, or break. A plyo box, aerobic step, or concrete stair is safer. If you use a chair, place it against a wall and test it before you trust it.
How do I know if my step is too high?
Your heel lifts, your knee caves in, your torso folds forward, or you feel pain in your knee or lower back. You might also need to push off your back foot to stand up. Any of these signs means the step is too high for now. Lower it and rebuild control.
What height step-up burns the most calories?
Calorie burn depends on intensity, body weight, and duration more than height alone. A moderate step that lets you move quickly for many reps often burns more calories than a high step that forces you to rest every few reps. For fat loss, choose a height you can sustain at a challenging pace.
Should my knee go past my toes on a step-up?
Yes, it can. The old idea that knees should never pass toes is outdated. Your knee passing slightly past your toes is normal and often necessary for a deep step-up. What matters is that your knee tracks well, your heel stays down, and you feel no sharp pain. If your knee hurts, lower the step or adjust your foot position.
Conclusion
So, how high should a step be for step-up exercises? For most people, the answer lives between 6 and 12 inches, with beginners staying lower and advanced trainees going higher only when their form earns it. The perfect height is the one that lets you keep your heel down, your knee tracking well, your torso tall, and your glutes doing the work. It is not about the box. It is about the movement.
Start lower than you think you need. Master the pattern. Add reps, then load, then height. Listen to your knees and hips. If something pinches, wobbles, or collapses, lower the step. A step-up should feel strong, stable, and controlled, not like a circus act. Find your height, own it, and then build from there.